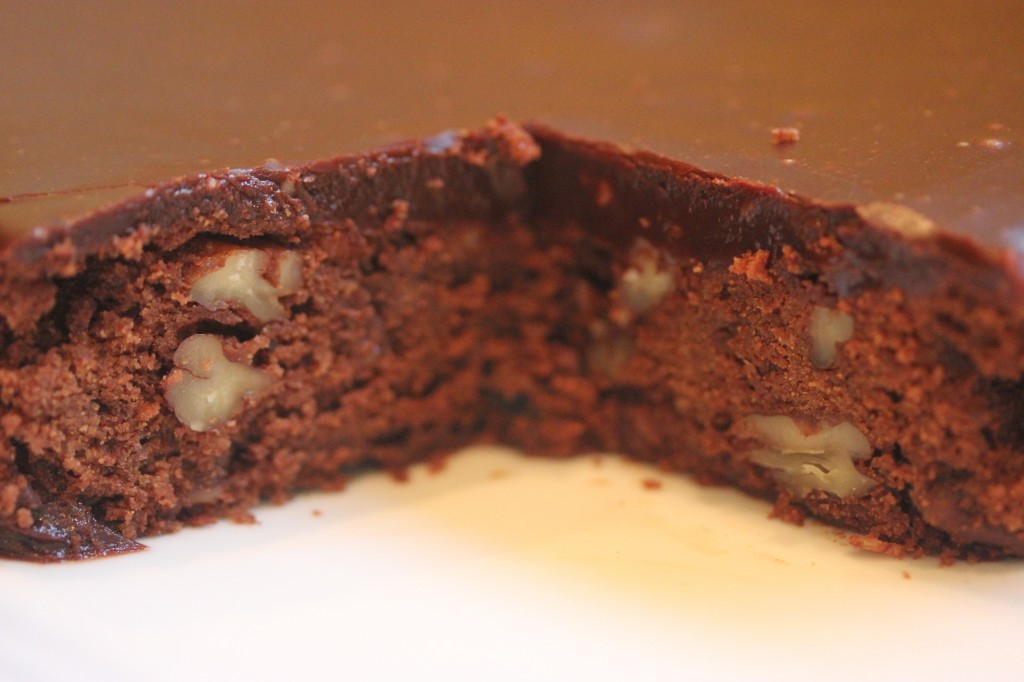
“Best brownie ever,” Suzen smiled.
You have no idea what a sense of accomplishment I felt. And debt of gratitude to Maida Heatter. I don’t have a few brownie books. I have a shelf of books dedicated to this delicacy. And then lots of shelves for cookie and dessert books.
On a night when I just wanted a great brownie, I turned to one of the baking authors I trust most: Maida Heater. Her Book of Great Chocolate Desserts has a chapter filled with perfect brownie recipes. You can make any of these and find success, flavor, and that sigh of satisfaction that only a brownie can give. [Sorry, Suzen, but it’s true and you know it. I watched you take a bite!].
The recipe calls for cooling the baked brownies for some time. If you cut them open sooner, you will see cracks and you will make a mess. You simply cannot cut a rectangle or square at this point. But, since it is going in your mouth anyway, I don’t think it matters.
Each of the brownies in this chapter from Maida comes with a story and recipe twist. Here, she adds some black pepper to the chocolate mix, a technique created by the Mexicans. You could even extend the recipe a bit by adding in a couple of tablespoons of brandy or Kahlua too!
And, you should try this threesome. This brownie topped with the chocolate glaze that’s in the photo and that was blogged yesterday. Then, savor the brownie and glaze with glass of Calvados, not the cheap stuff but a good $30+ bottle with age and character.
Or, on another track, you can pair the brownie with lots of ice cream flavors: vanilla, chocolate, coffee, … You can even make mix-ins shake by first making a milk shake, then adding some brownie chucks just at the end. You don’t want you blender to chop the brownie to smithereens, just into tiny chucks. Straws will not be useful here.
Extraordinary.
Black Pepper Brownies
Yield: 16 serious size dessert portions [32 small bites]
Ingredients:
- 4 ounces unsweetened chocolate
- 6 ounces [1 ½ sticks] unsalted butter
- ⅛ teaspoon salt
- 1 teaspoon dry instant espresso or other powdered [not granular] instant coffee
- 1 teaspoon vanilla extract
- 1 ¼ cups dark or light brown sugar, firmly packed
- 3 eggs [large or extra-large]
- ¾ cup sifted all-purpose flour
- 4 ounces [generous 1 cup] walnuts or pecans, broken into large pieces
Preparation:
Adjust the oven rack one-third up from the bottom and preheat the oven to 375°F. Prepare 9-inch square cake pan as follows: Turn the pan upside down. Cut a 12-inch square of aluminum foil, center it over the inverted pan, and fold the sides and corners down. Removed the foil, turn the pan upright, and place the foil in the pan. In order not to tear the foil, use a folded towel or potholder to press the foil firmly into place in the pan. Brush with very soft or melted butter. Set the prepared pan aside.
Place the chocolate in the top of a small double boiler over hot water on moderate heat. Cover until partially melted, then uncover and stir until completely melted. Remove the top of the double boiler and set it aside, uncovered, to cool slightly.
In the large bowl of an electric mixer cream the butter. Add the salt, instant coffee, black pepper, vanilla, and then the sugar and beat until blended. Add the eggs one at a time, scraping the bowl with a rubber spatula and beating only until incorporated after each addition. On low speed, add the chocolate and then the flour, scraping the bowl with a rubber spatula and again beating only unit incorporated.
Removed the bowl from the mixer and stir in the nuts
Turn into the prepared pan and smooth the top.
Bake for 24 to 39 minutes; a flat toothpick inserted into the middle of the cake should come out barely moist—not wet but not completely dry. Begin to test before the time is up and do not overbake.
Cool the cake in the pan for 15 to 20 minutes. Then cover with a rack and invert the pan and the rack. Remove the pan and peel off the aluminum foil. Cover with another rack and invert again, leaving the cake right side up to cool.
Chill the cake before cutting. Place in the refrigerator or freezer until firm. When cutting, clean the knife blade with a damp cloth whenever/if some of the cake sticks to it.
Source: Maida Heatter’s Book of Great Chocolate Desserts by Maida Heatter


This sounds outstanding but the recipe as written seems to leave out the amount of black pepper. I assume about 1/8 of a tsp is sufficient but…
I left out 1 teaspoon of black pepper. I’m posting the fix now. Thanks for the catch.
Why have you omitted black pepper and its quanitity (1 teaspoon?)from your list of ingedients?
I was incredibly stupid. Am posting the fix now. Thanks for the catch. Yes, it is one teaspoon.