by Brian | Nov 14, 2019 | Uncategorized
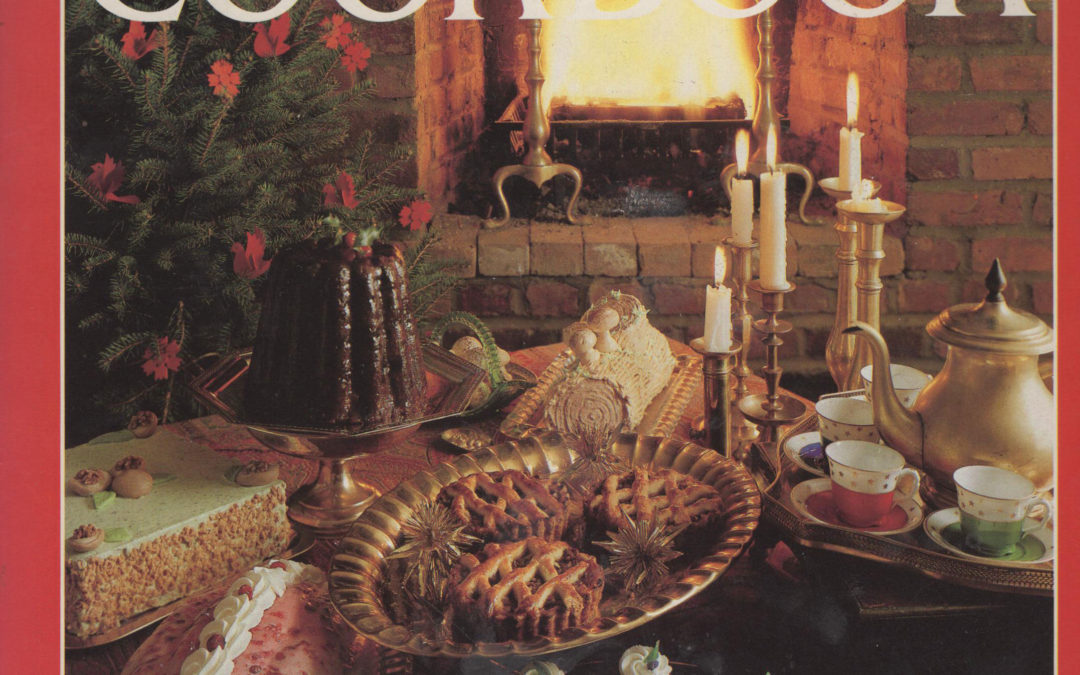
Six years ago, John Clancy passed away. He was recognized in 1981 as one of the country’s top 50 chefs by Food and Wine Magazine. He began as a chef on Cape Cod then came to New York to work and teach with James Beard. He was the chef for the famous...
by Brian | Nov 12, 2019 | Uncategorized
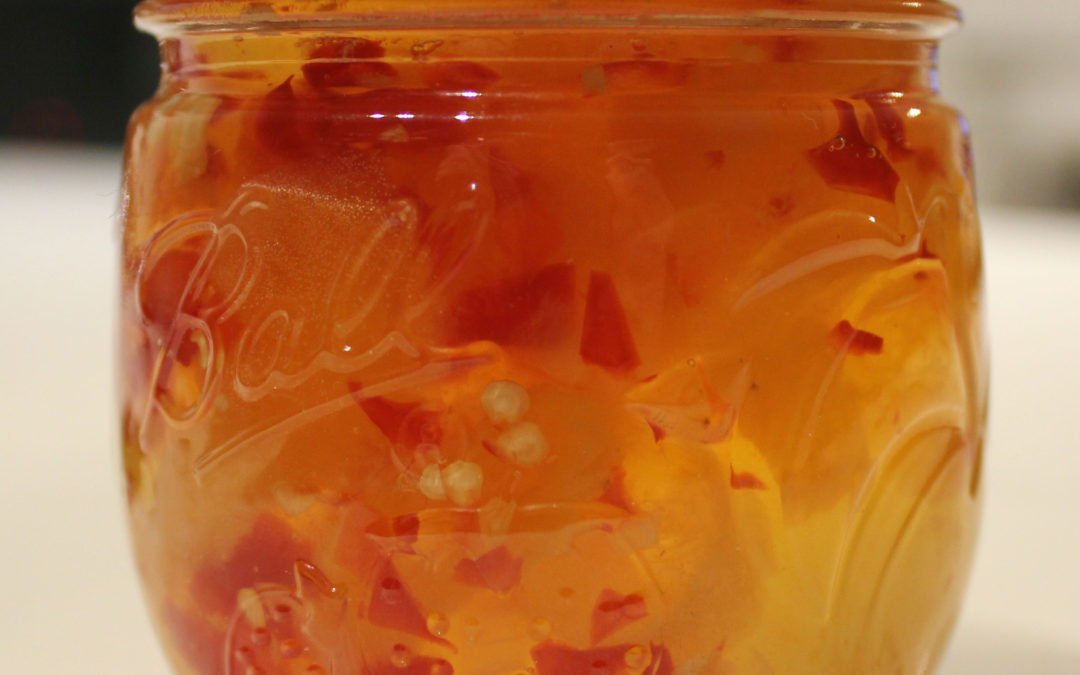
My family is a vast collection of foodies. Everyone, men and women, loves to cook and share recipes. Our cousin Steven sent us a small cardboard box filled, it turns out, with gold. Last night we opened up this jar of jelly he had made. We heated bagels. Took...
by Brian | Nov 11, 2019 | Uncategorized
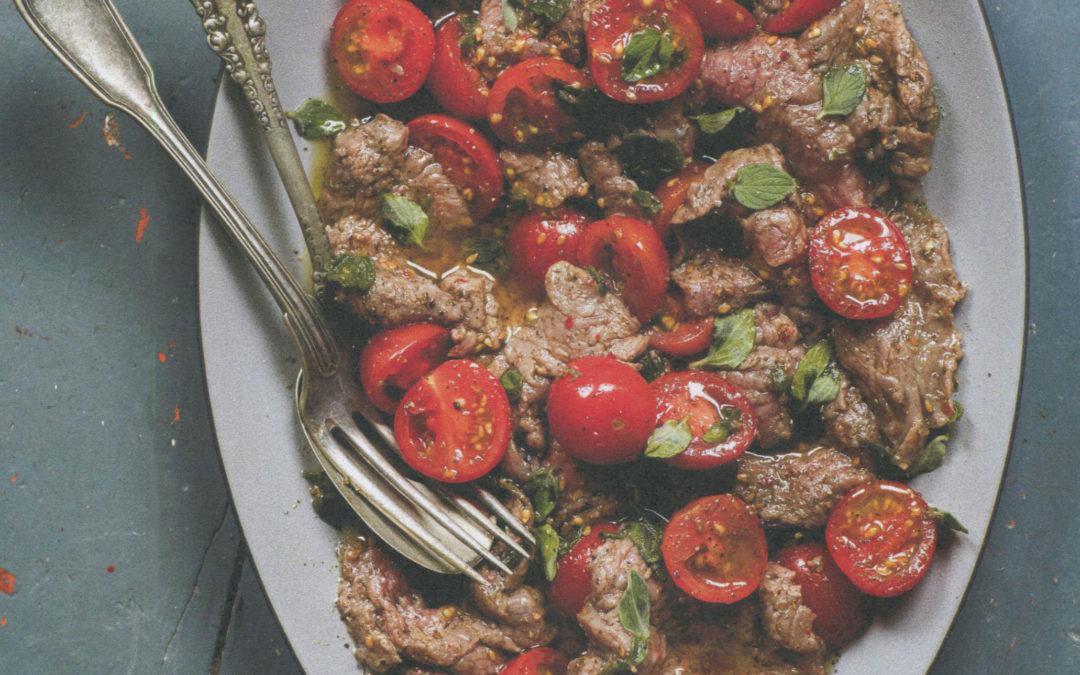
Oh dear. I meant to post this on Friday or Saturday. Well, it is Monday and you can read about this delicious dish and think about the coming weekend. ‘Cause this dish takes some time. That beef is not cooked. It is marinated in the fridge for a couple of hours...
by Brian | Oct 25, 2019 | Uncategorized
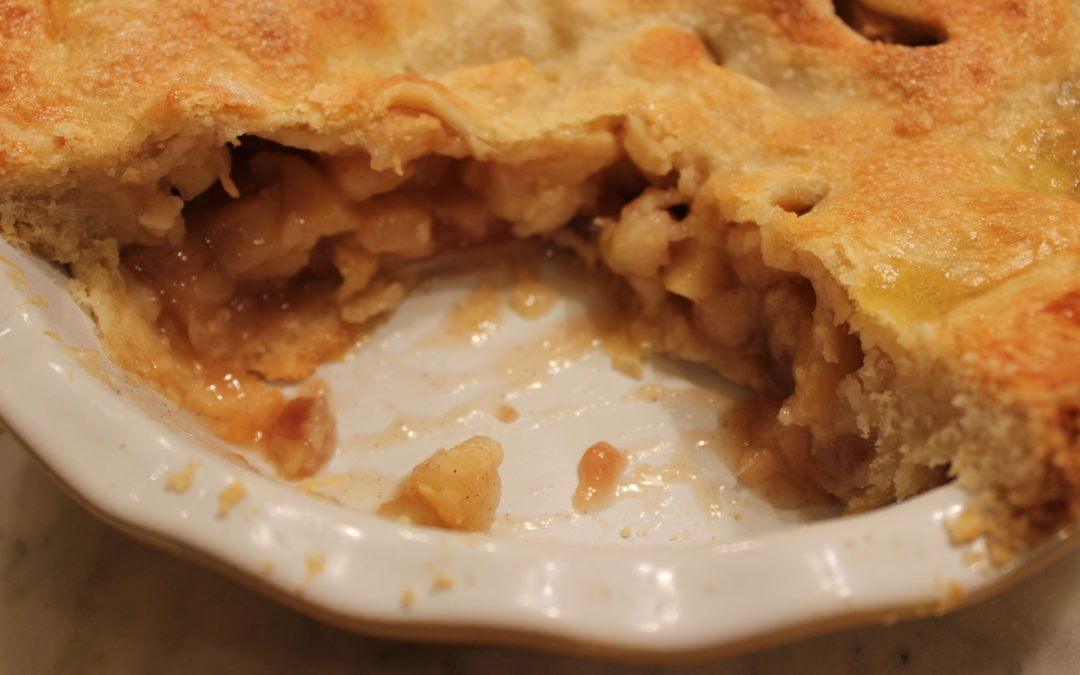
Now of course is the perfect time to go into the countryside, buy some apples, come home and bake. For yesterday’s TBT Cookbook Review, I featured Apple Pie Perfect by Ken Haedrich, America’s Pie Master. Here’s the obvious and sad truth about apple pie. It...

by Brian | Oct 17, 2019 | Uncategorized
Way back in 2010, I reviewed this book and gave a sample recipe. The book is still wonderful and this recipe is timed for fall. Squash, yams, and parsnips are not daily fare for most of us. Here,...
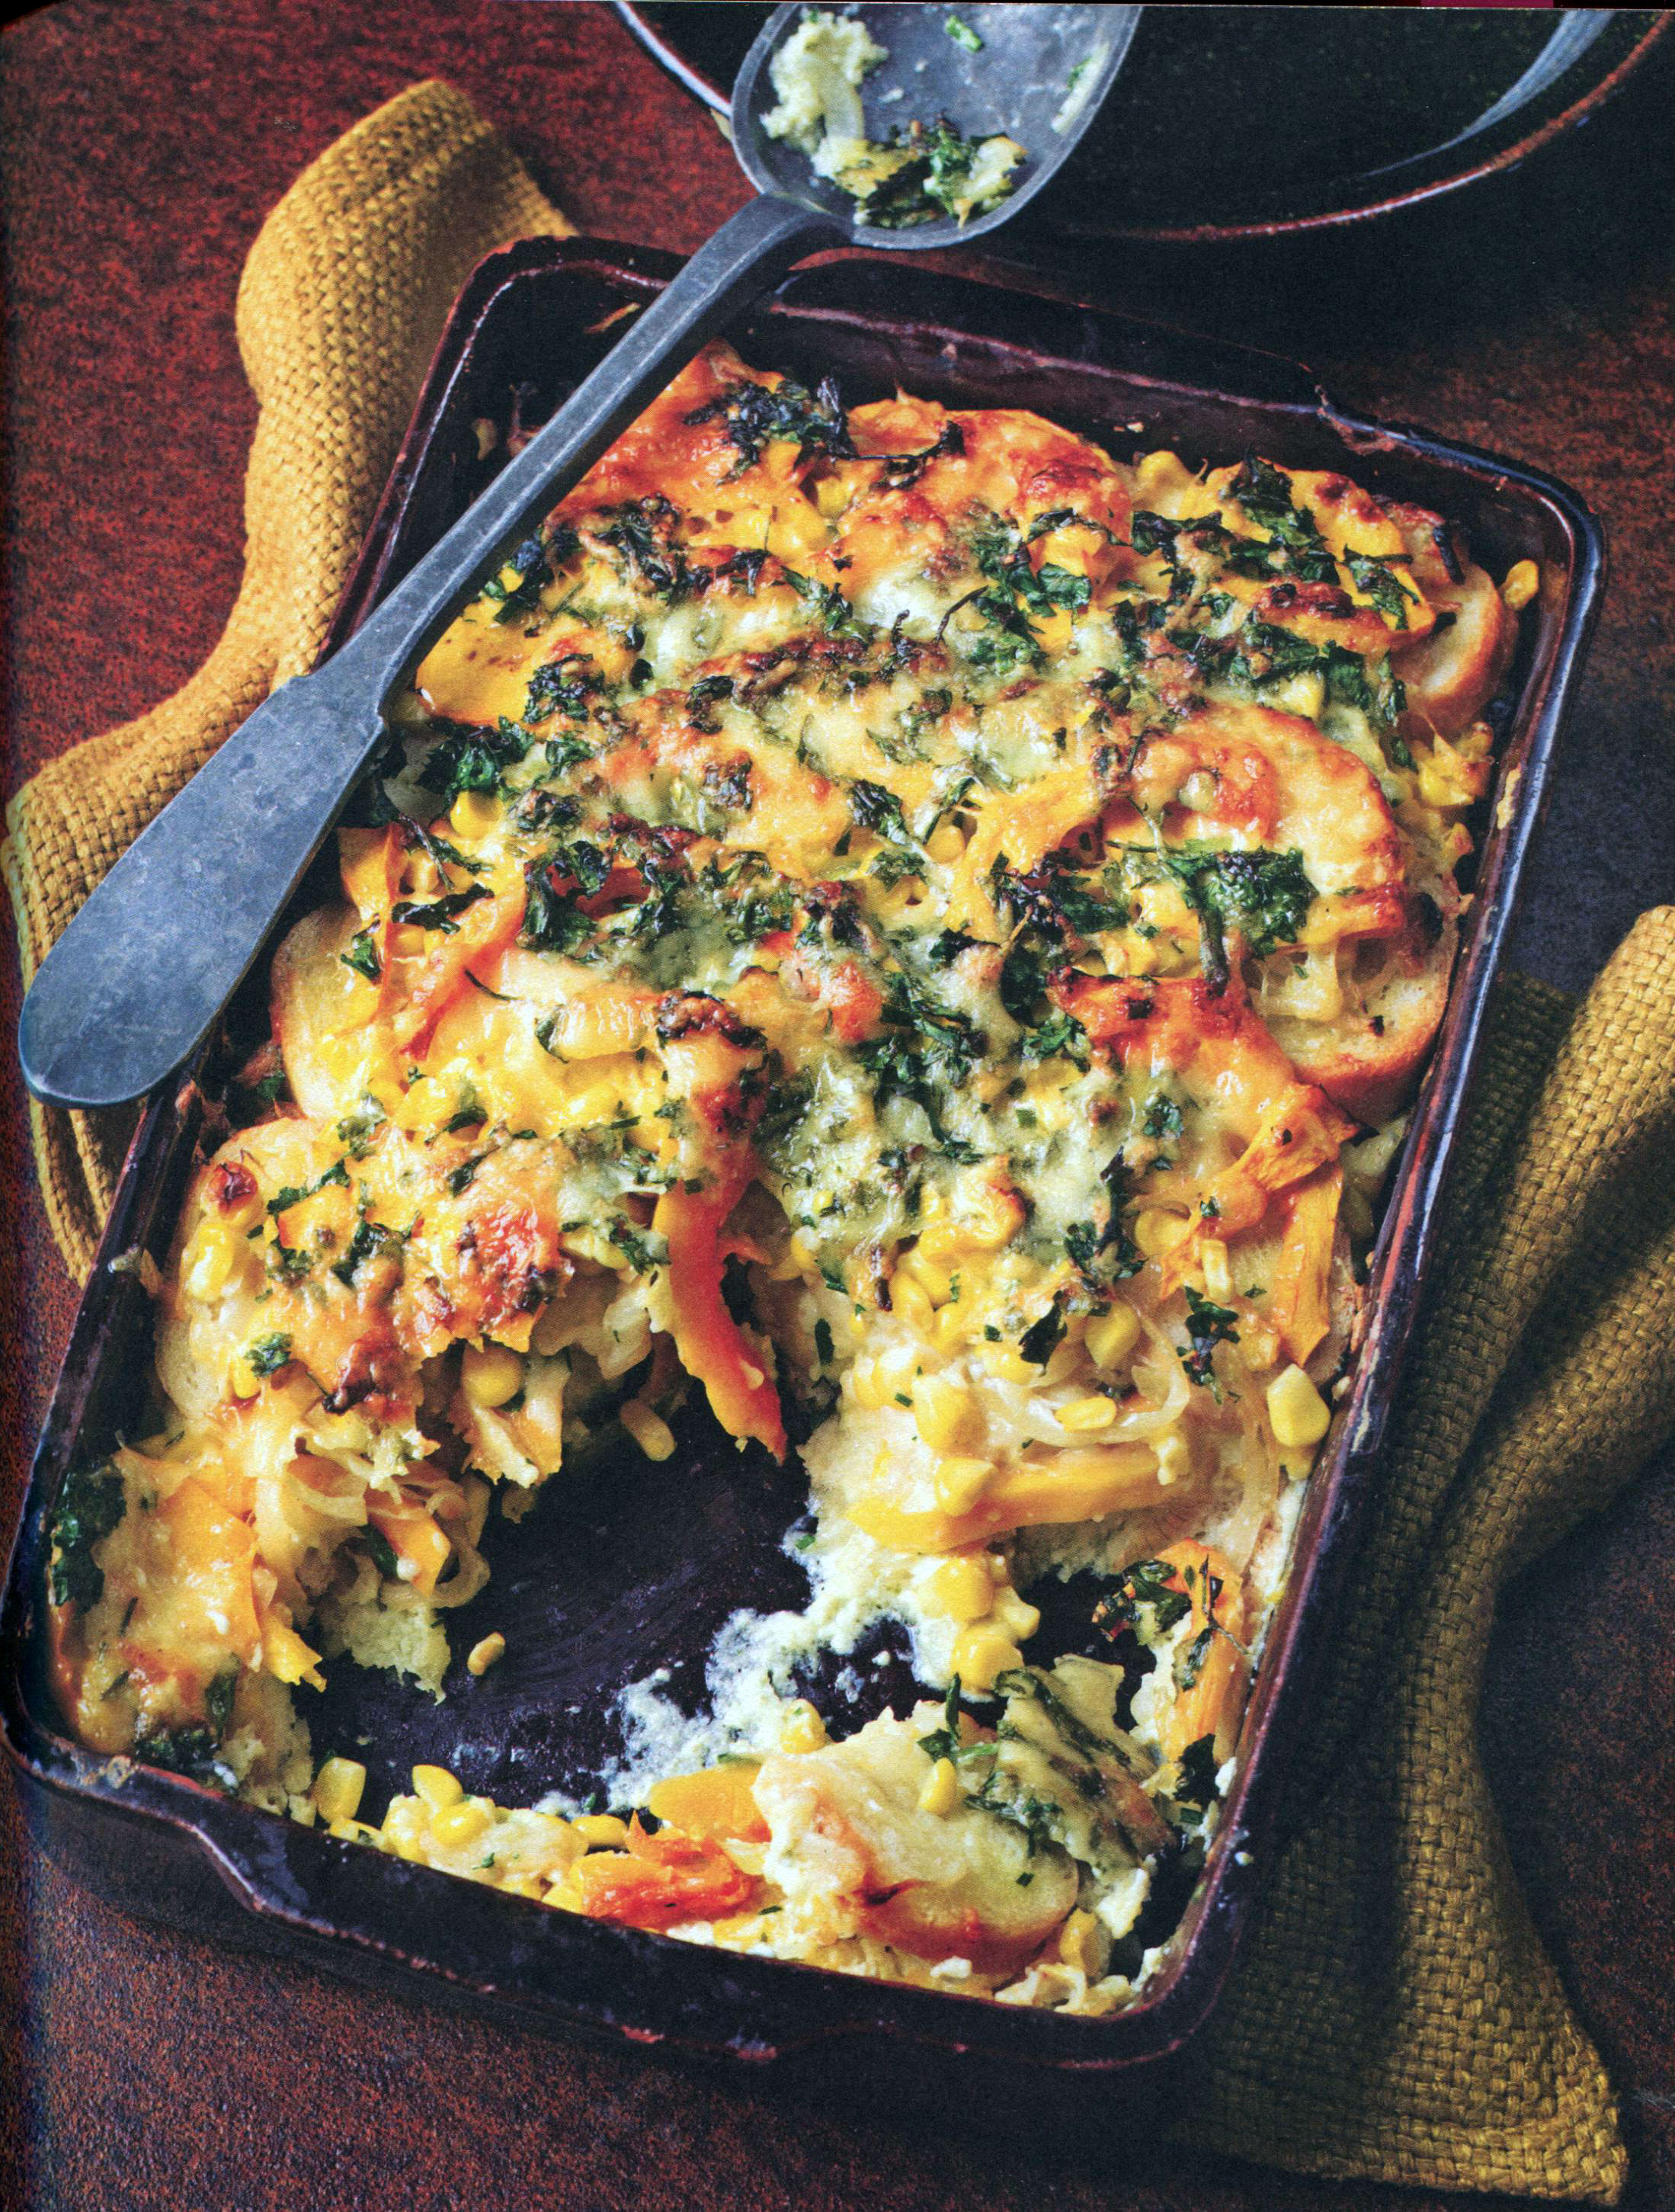
by Brian | Oct 10, 2019 | Uncategorized
This week’s TBT recipe is ideal for many reasons: it’s an intense vegetable dish, it’s perfect for squash season, and it is something to consider for your Thanksgiving table. Oh, Thanksgiving? Too soon? Look, at Sam’s Club they have Christmas...