by Brian | Dec 4, 2019 | Dessert Digest, Recipes
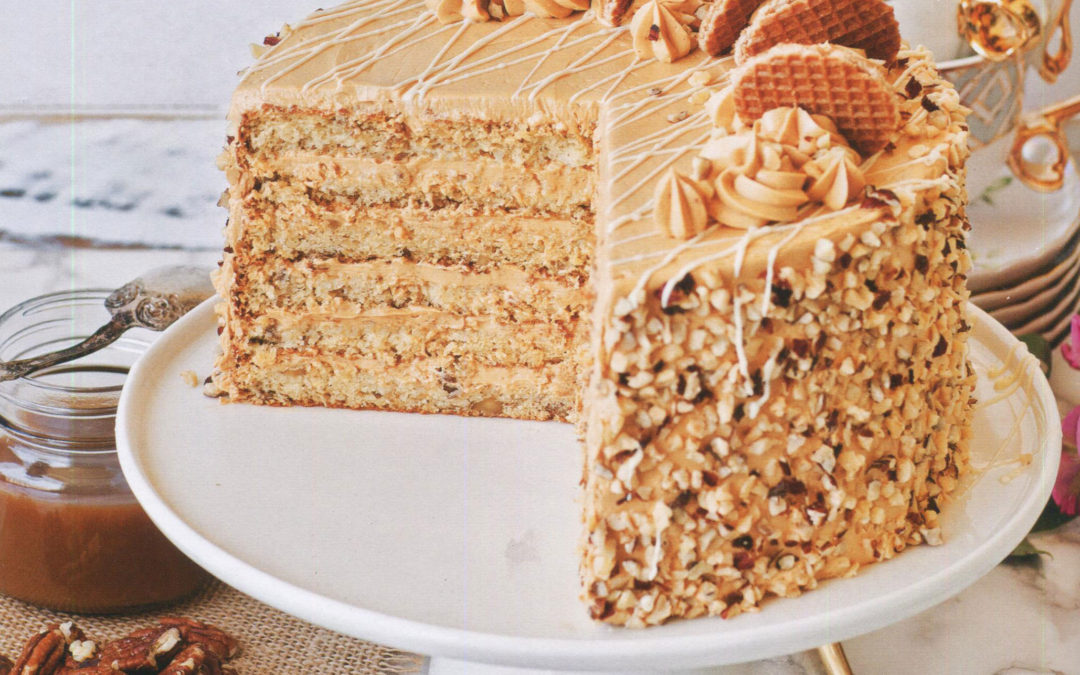
Author Tatyana Nesteruk describes this cake is divine. Her cookbook, The European Cake Cookbook, is totally divine. This recipe is not for diabetics. Well, maybe, a small piece. Or two of them. A honey sponge cake is dotted with pecan pieces and then topped...
by Brian | Sep 27, 2019 | Dessert Digest, Recipes
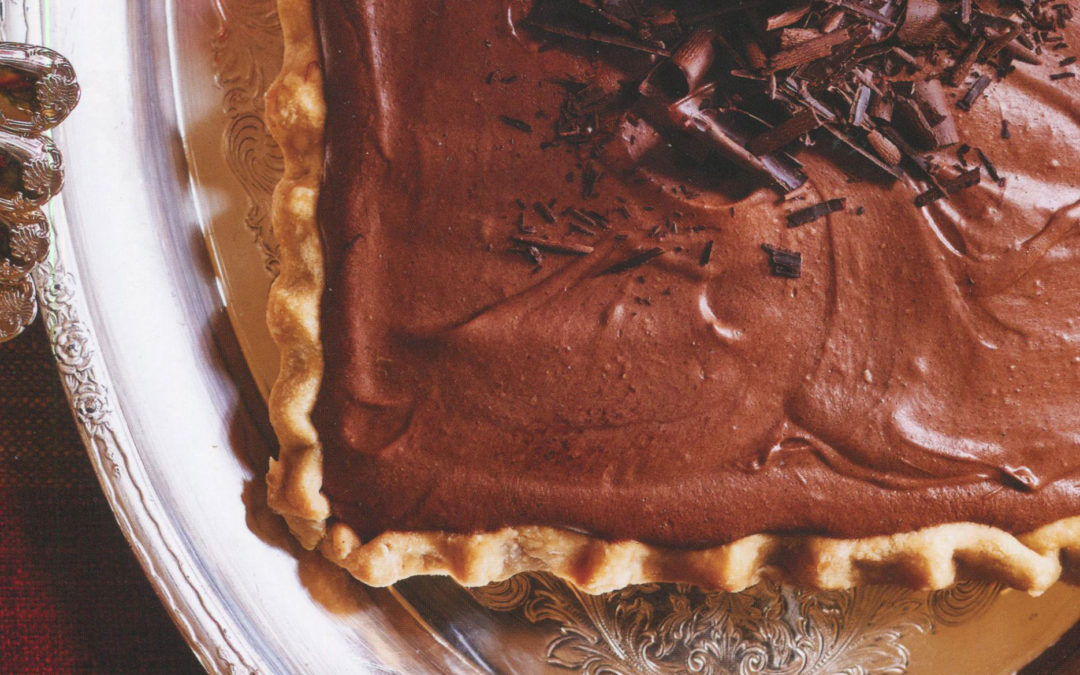
In Wednesday’s cookbook review for The Art of the Host, I noted that the 100 recipes in the book are gathered into twelve chapters for holiday events. The first holiday in the book? Thanksgiving. Dessert for author Alex Hitz is cardinal so he has three for this...
by Brian | Sep 4, 2019 | Dessert Digest
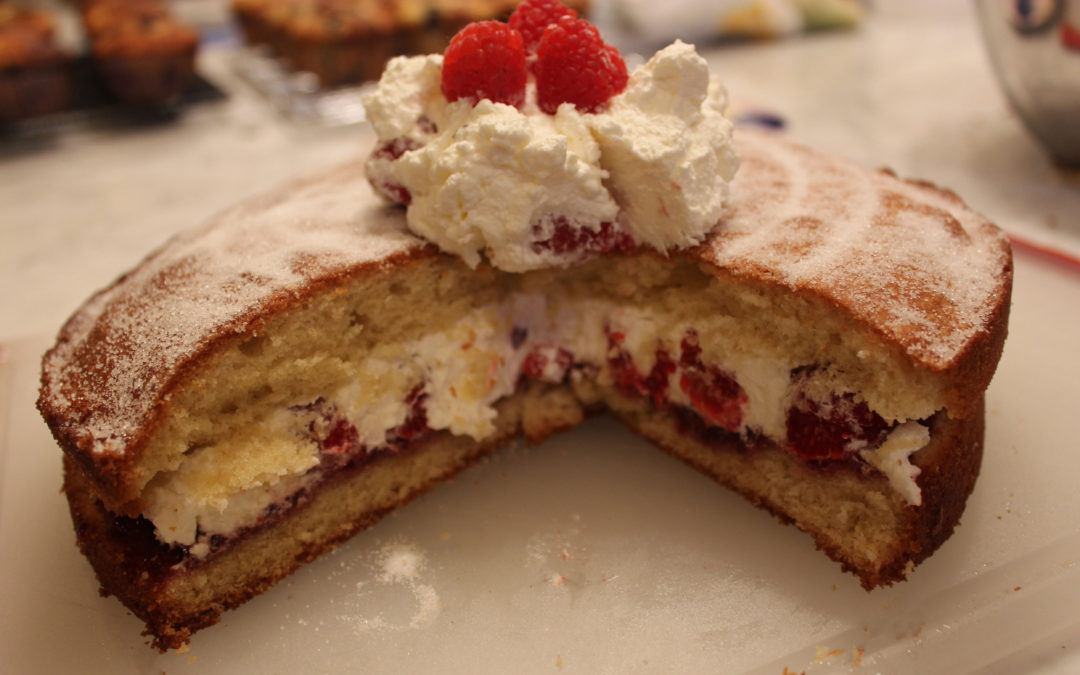
This cake appears around the world, from London to Sydney. It is the perfect “Afternoon Tea” cake. The cake itself is fairly dense and is not frosted. Instead, the layers are separated by whipped cream, berry jam, and fresh berries. If fresh berries are...
![Perfect Party Cake [Vanilla and Lemon] from Dorie Greenspan](https://cookingbythebook.com/wp-content/uploads/2019/08/wc-Perfect-Party-Cake-from-Dorie-Greenspan-1080x675.jpg)
by Brian | Aug 27, 2019 | Dessert Digest, Recipes
We were invited to a birthday party and were asked to bring a cake. I knew just the recipe I wanted and I looked for it on this blog. Strange. Not there. I know I blogged it. I went to my directory of recipes I have scanned in from books. No recipe. In fact, no...
by Brian | Aug 14, 2019 | Dessert Digest, Recipes
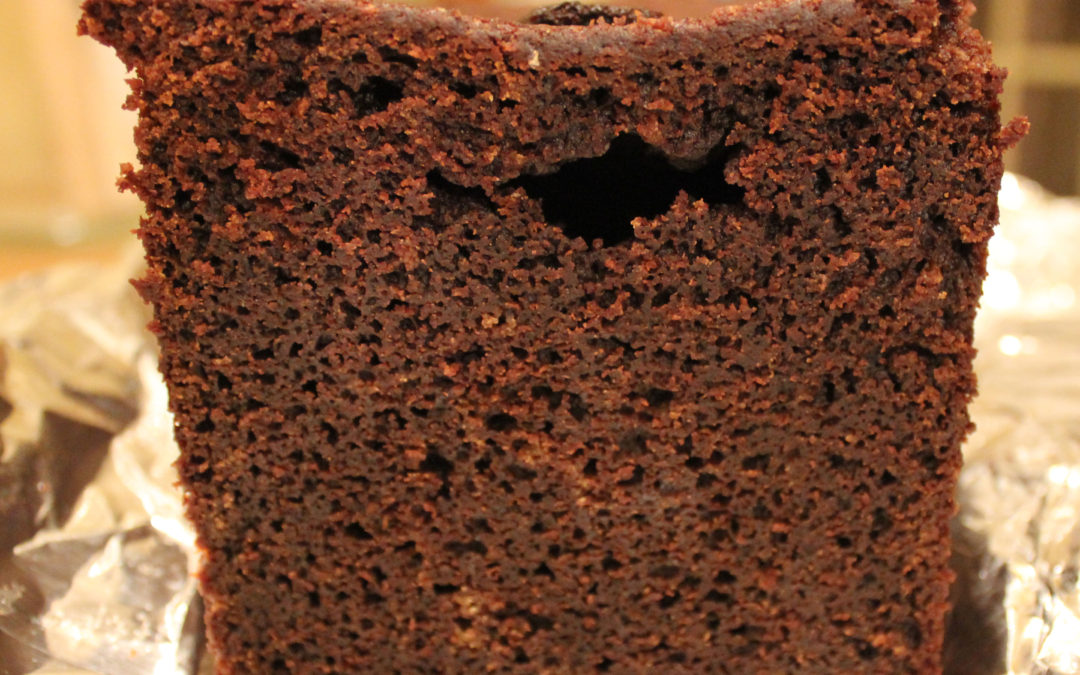
When people speak about Guinness, they just say Guinness, not beer. Guinness is a rich Irish stout beer. Stout? That just means strong. And strong Guinness is. When you take a sip, you know it is not Pabst Blue Ribbon. The flavor is so distinct and so intense,...

by Brian | Jun 25, 2019 | Dessert Digest
The Basque region in Northern Spain [and a wedge in Southwestern France] is an intriguing area. Different language, distinct culture. Analysis of genetic pattern indicates that the Basque people are an indigenous group that has been there for several millennia....